What Are the Best Techniques for DIY Roof Shingle Installation?
Installing roof shingles can enhance your home’s curb appeal while providing necessary protection. Proper installation is crucial; it ensures durability and weather resistance. Here are the essential techniques for successfully installing roof shingles.
Gather the Necessary Tools and Materials
Before starting the project, assemble all required tools and materials. This preparation will streamline the installation process.
Essential Tools
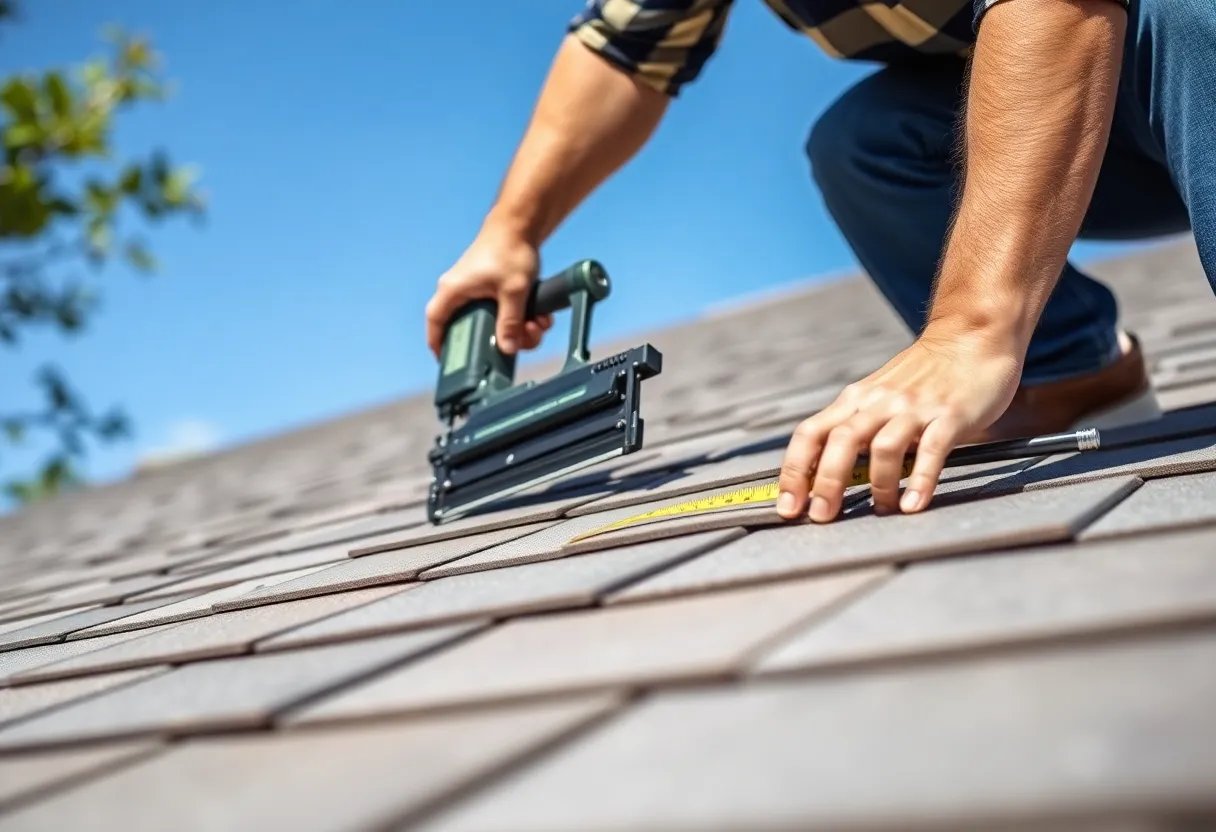
- Nail Gun or Hammer: A nail gun speeds up installation while ensuring secure fastening.
- Measuring Tape: Accurate measurements prevent mistakes.
- Utility Knife: Useful for cutting shingles to size.
- Ladder: Ensures safe access to your roof.
- Chalk Line: Helps in marking straight lines for nailing shingles.
- Safety Gear: Always wear a safety harness and non-slip footwear.
Materials Needed
- Roof Shingles: Choose asphalt, wood, or metal shingles based on your budget and aesthetic preferences.
- Underlayment: Provides an additional layer of protection against moisture.
- Roofing Nails: Select the appropriate size for the shingles you’ve chosen.
- Flashing: Required for valleys, chimneys, and roof penetrations.
Preparing the Roof
Preparation is key for a successful installation. Start with a thorough inspection of the existing roof.
Inspect and Repair
Check for any damaged areas. Replace rotting wood or patch holes before laying down new shingles. A good surface ensures better adherence and durability.
Clean the Roof Surface
Remove debris, old shingles, and any obstructions. A clean surface allows the underlayment and shingles to adhere properly.
Install Underlayment
Lay the underlayment starting from the eaves. Use a staple gun or roofing nails to secure it in place. Overlap the seams by at least six inches to prevent water infiltration.
Shingle Installation Techniques
Follow a systematic approach when installing shingles.
Start with the Eaves
Begin at the bottom edge of the roof. The first row of shingles should be installed along the eaves. Make sure they overhang by about an inch to shed water effectively.
Use a Chalk Line
To maintain straight rows, snap a chalk line every five six shingles. This reference will ensure a uniform look and proper installation.
Nailing Method
Proper nailing is crucial. Aim for the area of the shingle that provides the best hold. Typically, this is just above the adhesive strip. Ensure that nails penetrate into the underlying material.
Shingle Overlap
Overlap subsequent rows of shingles. Each new layer should overlap the previous layer by about 5-6 inches, depending on the shingle type, to provide maximum waterproofing.
Install Ridge Caps
After laying the main field shingles, install ridge caps along the peak of the roof. These caps should be nailed securely and can be created from cut regular shingles or pre-manufactured ridge cap shingles.
Finishing Touches
Once all shingles are installed, conduct a thorough inspection.
Check for Flawless Installation
Walk the roof and inspect each shingle. Look for any misaligned shingles, exposed nails, or inadequate overlaps. Address any deficiencies immediately.
Sealant Application
Consider applying a sealant around roof penetrations such as vents and chimneys. This provides extra protection against water leakage.
Maintenance Considerations
After installation, regular maintenance is key to prolonging the life of your roof.
Routine Inspections
Inspect your roof at least twice a year and after severe weather. Look for missing or damaged shingles, as well as accumulation of debris.
Cleaning the Roof
Keep your roof free of leaves and other debris. This prevents mold growth and ensures proper drainage.
Address Minor Issues Promptly
Don’t wait to address small leaks or loose shingles. Prompt repairs can prevent larger, more costly issues.
Conclusion
Installing roof shingles is a significant yet rewarding task. With careful planning, proper tools, and adherence to best practices, you can achieve a durable and attractive roof. Remember to prioritize safety, inspect your work, and conduct regular maintenance for the best results.
With these techniques, you’re equipped to enhance your home’s protection and aesthetic appeal through successful DIY roof shingle installation.