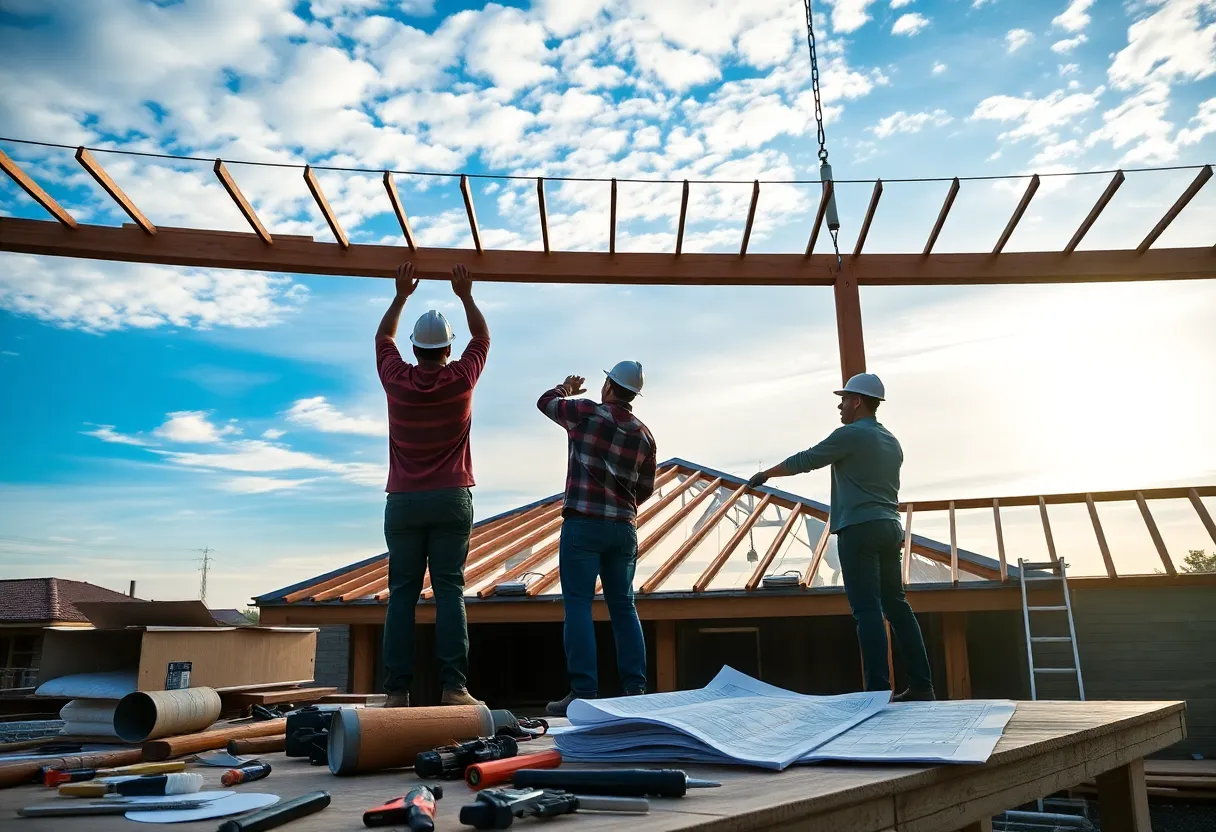
How to Calculate Your Roofing Project Timeline: Planning for Success
Estimating the duration of a roofing project is crucial for both contractors and homeowners. A well-planned timeline can minimize disruptions, optimize resource allocation, and ensure a smoother workflow. In this article, we will explore the essential steps to calculate your roofing project timeline effectively.
The Initial Consultation
The first step in calculating the project timeline is to conduct an initial consultation. This phase involves discussing client requirements, assessing the existing roof condition, and setting key project objectives. It is essential to establish clear goals for the roofing project, including:
- Type of roofing material
- Desired features (e.g., skylights, ventilation enhancements)
- Budget constraints
This dialogue will significantly influence the time frame. Different materials require varying installation processes, impacting the overall duration.
Site Assessment and Measurements
A detailed site assessment is critical for precise measurements. During this phase, the roofing contractor will take measurements of the roof, check for damage, and identify any structural issues that may need addressing. Factors that affect the timeline at this stage include:
- Size of the roof
- Complexity of the roof design (e.g., multiple slopes, dormers)
- Accessibility of the roofing area
- Presence of old roofing materials that need removal
Completing this assessment can take anywhere from a few hours to a couple of days, depending on the roof’s complexity.
Permitting and Regulations
Before commencing work, obtaining the necessary permits and adhering to local building codes is essential. This process can vary significantly based on:
- Your local regulations
- Size and scope of the project
- Time needed for permit approval
On average, permitting can take from one to several weeks. Engage with local authorities early to ensure all requirements are met.
Material Procurement
Once the project is finalized, the next step involves acquiring the necessary materials. Timelines can vary based on:
- Availability of materials
- Delivery timeframes
- Potential supply chain issues
Generally, material procurement can take between a few days and several weeks. Early ordering can help mitigate delays, especially if special materials are being used.
Preparation and Setup
The preparation phase is critical for ensuring that the roofing project runs smoothly. During this phase, contractors will:
- Set up necessary safety equipment
- Establish work areas
- Remove any existing roofing materials
This stage can take anywhere from a couple of days to a week, depending on the project’s scale and the condition of the existing roof.
Installation Timeline
The installation phase is where the bulk of the roofing work occurs. This phase can be broken down into steps:
1. Roof Decking Repair/Replacement
If any underlying decking requires repair or replacement, it must be addressed first. This typically adds one to three days to the timeline, depending on the extent of the damage.
2. Underlayment Installation
Installing an underlayment provides an additional layer of protection. This phase usually takes a day or two.
3. Roofing Material Installation
The time required to install the roofing materials will vary depending on:
- The type of roofing material (shingles, metal, tiles)
- The size of the crew
- The weather conditions
For an average-sized home, the installation can range from three days to several weeks. Complex designs or high-pitched roofs will require more time.
Final Inspection and Cleanup
Once installation is complete, a thorough inspection is essential to ensure quality and adherence to codes. This phase may take one to two days. Following the inspection, cleanup is necessary to leave the site in a manageable and safe condition. This process typically adds an extra day to your timeline.
Contingency Planning
Even with the most accurate planning, unforeseen circumstances can arise. Be prepared for potential delays due to:
- Weather conditions (rain, snow)
- Material shipping issues
- Additional repairs discovered during installation
Incorporate a buffer of at least 10-20% of the total estimated time for contingencies. This consideration ensures that, despite any setbacks, the project remains on track.
Developing Your Roofing Timeline
To create an effective timeline, consider the following steps:
- Identify critical milestones: Set key dates for each phase—from consultation to final inspection.
- Assign responsibilities: Clearly delegate tasks to team members.
- Monitor progress: Use a project management tool or spreadsheet to track progress closely. Adjust timelines as needed.
A visual representation, like a Gantt chart, can make monitoring easier and provide clarity to involved parties.
Engaging a Roofing Professional
If this timeline calculation feels overwhelming, you may consider hiring a professional roofing contractor. An experienced contractor will know the ins and outs of the process, including the typical timeline for various roofing projects in your area.
A professional can also help navigate regulations, permitting processes, and potential supply chain issues to minimize delays.
Conclusion
Calculating your roofing project timeline is vital for a successful outcome. By following a structured approach—conducting consultations, assessments, and planning for contingencies—you can enhance the efficiency of your project while ensuring that everyone involved understands the timeline. Whether you manage the project independently or enlist a professional, a comprehensive understanding of the timeline elements will lead to a smoother roofing experience.
Certainly, the goal is to achieve a secure and aesthetically pleasing roof within a foreseeable timeline, ensuring both safety and satisfaction.


 Mays Contracting

