


BREAKING NEWS

Newberry Academy Suffers Ninth Consecutive Loss Against King Academy
Newberry SC, October 27, 2025 News Summary Newberry Academy faced a tough defeat against King Academy, extending their losing streak to nine games with a score of 48-6. This loss brings...

Newberry Academy Suffers Third Consecutive Loss to Curtis Baptist
Newberry SC, October 26, 2025 News Summary Newberry Academy faced their third consecutive defeat against the Curtis Baptist Crusaders with a score of 2-1, deepening their struggles this season. This loss...

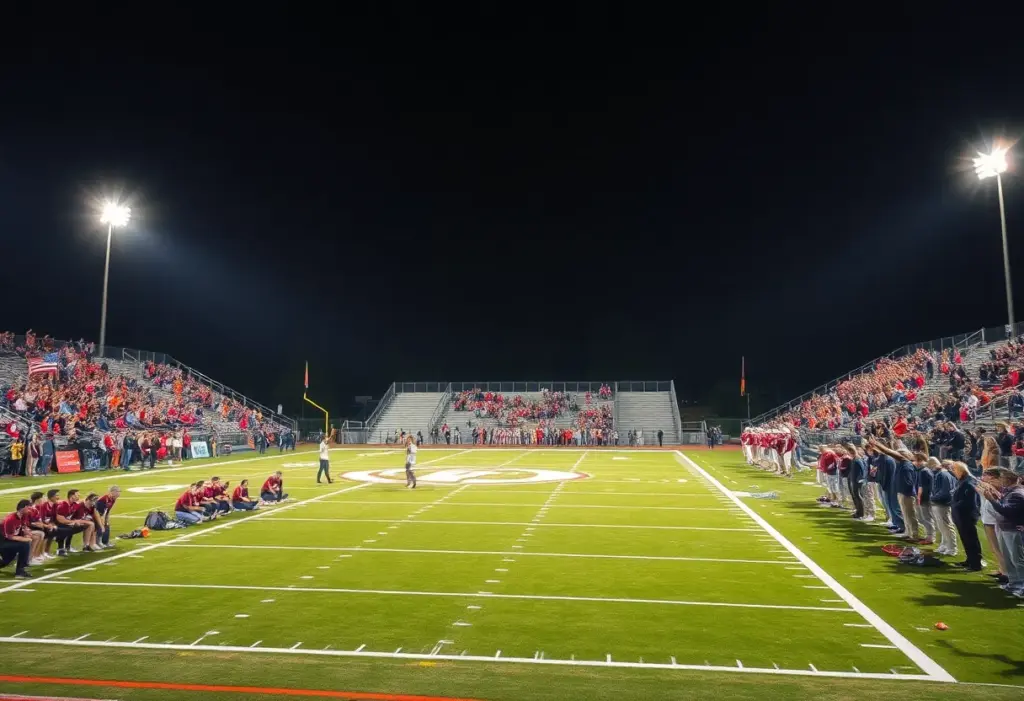
South Carolina High School Football Week 9 Scores
Columbia, SC, October 26, 2025 News Summary In South Carolina’s Week 9 high school football action, teams showcased their skills with impressive victories. Fort Dorchester overwhelmed Stall with a score of...

Newberry County School Bus Crash Reported
Newberry County, S.C., October 26, 2025 News Summary A school bus crash occurred in Newberry County, S.C. while transporting students to Newberry Middle School and Newberry High School. Fortunately, no serious...

Newberry College Wolves Secure Comeback Win Against Emory & Henry Wasps
Newberry SC, October 26, 2025 News Summary In a thrilling South Atlantic Conference football game, the Newberry College Wolves overcame a 14-point deficit to defeat the Emory & Henry Wasps 36-34....

South Carolina High School Football Week 10 Scores: Dominant Wins
Midlands, South Carolina, October 25, 2025 News Summary In Week 10 of South Carolina high school football, several teams showcased strong performances with commanding victories across the Midlands. Batesburg-Leesville led the...

School Bus Crash in Newberry County Raises Safety Concerns
Newberry County, October 25, 2025 News Summary A recent school bus crash in Newberry County has raised concerns about student safety, although no serious injuries were reported. The incident occurred while...

Emma Westbrook Named NFHCA Division II Offensive Player of the Week
Newberry SC, October 23, 2025 News Summary Newberry College senior forward Emma Westbrook has been honored as the NFHCA Division II Offensive Player of the Week for her outstanding performance, including...

Little Mountain, S.C. Faces Uncontested Council Elections
Little Mountain, S.C., October 23, 2025 News Summary Little Mountain, S.C., is preparing for an upcoming council election with two open seats but no candidates have filed to run. This unusual...
BUSINESS

Rolls-Royce Expands Graniteville Facility with $75 Million Investment
Graniteville, South Carolina, October 10, 2025 News Summary Rolls-Royce Solutions America Inc. has unveiled plans for a two-phase expansion of its Graniteville, South Carolina plant, investing $75 million. This initiative aims...

Samsung Celebrates National Manufacturing Day in Newberry, SC
Newberry, South Carolina, October 4, 2025 News Summary Samsung’s home appliance plant in Newberry, South Carolina, marked National Manufacturing Day by hosting over 150 local students for a tour. The event...

Public Engagement Boosts Hotel Aiken Renovation Plans
Aiken, South Carolina, October 2, 2025 News Summary Community members actively participated in a design charette hosted by Oliver Hospitality to discuss the renovation plans for Hotel Aiken. The event highlighted...

Newberry County Takes Steps to Preserve Farmland Amid Development
Newberry County, SC, September 18, 2025 News Summary Newberry County, S.C. is set to propose new regulations for subdivision developments aimed at preserving its historically significant farmland. The proposal includes a...

Meta Platforms to Invest $800 Million in Aiken County Data Center
Aiken County, September 11, 2025 News Summary Meta Platforms has revealed plans to invest $800 million in a new data center in Aiken County, South Carolina, expected to become operational by...

Discover the Charm of Newberry, South Carolina
Newberry, South Carolina, September 6, 2025 News Summary Newberry, South Carolina, embodies the charm reminiscent of Stars Hollow from ‘Gilmore Girls.’ With its historic buildings, lively community events, and cozy downtown...

South Carolina’s Small Towns Attract New Residents
South Carolina, September 4, 2025 News Summary Small towns in South Carolina are becoming increasingly popular for new residents due to their affordable living, community charm, and diverse lifestyle options. Towns...

Cooperative Health to Close Multiple Clinics Amid Financial Struggles
Columbia, SC, August 21, 2025 News Summary Cooperative Health is closing eight clinics and laying off 80 employees due to ongoing financial difficulties exacerbated by increasing numbers of underinsured and uninsured...

Sen. Lindsey Graham Advocates for Nuclear Energy Revitalization in South Carolina
News Summary Senator Lindsey Graham has reinforced his push for revitalizing South Carolina’s nuclear energy sector during a ceremony at USC Aiken. Citing the need for additional power generation capacity,...
Events/What's Happening

Keenan Raiders Fall to Newberry Bulldogs 37-6
Columbia, SC, October 27, 2025 News Summary The Keenan Raiders suffered a disappointing 37-6 loss against the Newberry Bulldogs, marking their fourth consecutive home defeat. With this loss, the Raiders’ season...

Newberry Bulldogs Secure 37-6 Victory Over Keenan Raiders
Newberry SC, October 27, 2025 News Summary The Newberry Bulldogs achieved their ninth straight win with a commanding 37-6 victory against the Keenan Raiders. Dominating every quarter, the Bulldogs showcased their...

Discover Charming Towns in South Carolina for Relaxation
South Carolina, October 27, 2025 News Summary South Carolina is gaining popularity as a retreat destination, showcasing six towns rich in Southern hospitality and culture. From the stunning beaches of Hilton...

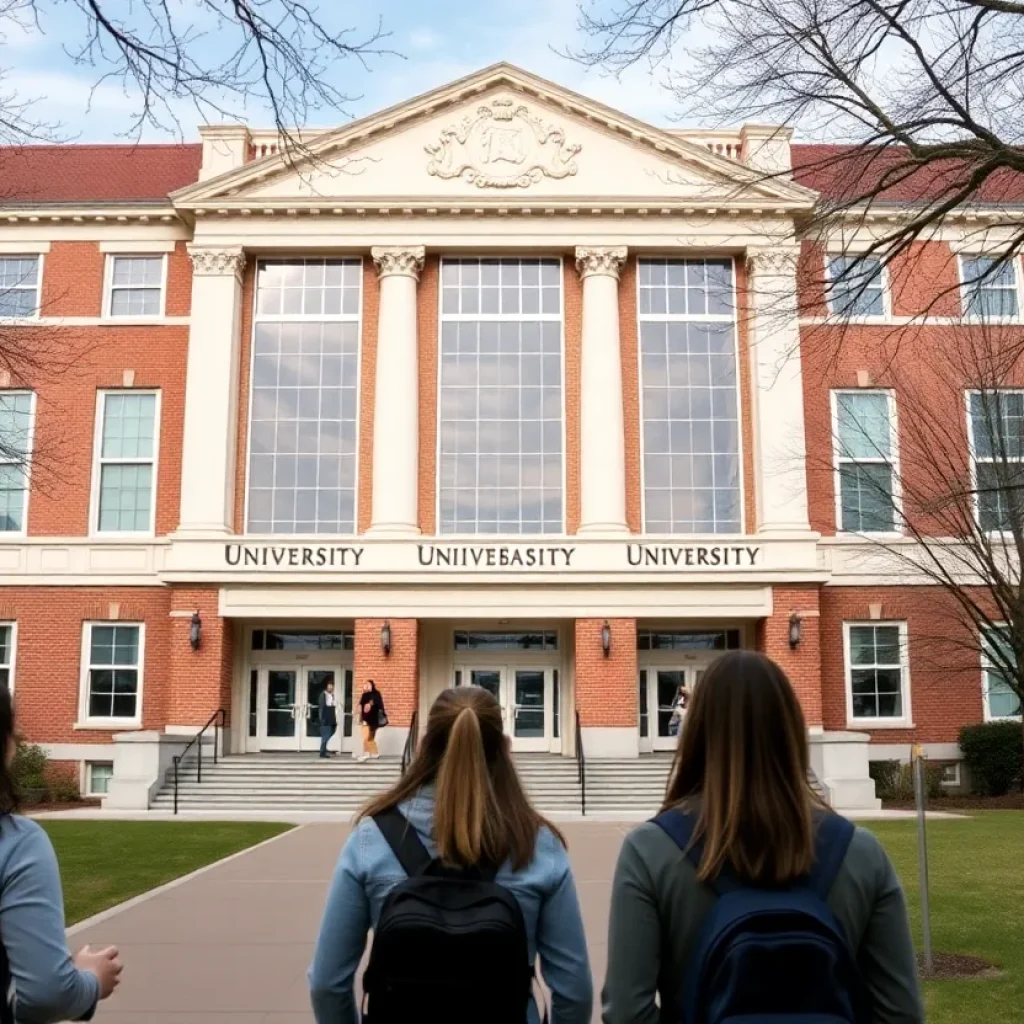
USC Aiken Launches Vietnam Veterans Oral History Project
Aiken, South Carolina, October 25, 2025 News Summary The University of South Carolina Aiken has initiated the Vietnam Veterans Oral History Project, aimed at preserving the stories of veterans from the...

SAC Players Shine in Week 7 Performances
Charlotte, October 25, 2025 News Summary Elijah Holmes of Wingate has been named Offensive Player of the Week in the South Atlantic Conference (SAC), showcasing his talent with impressive passing and...

Newberry Academy Prepares for Challenge Against King Academy
Newberry SC, October 22, 2025 News Summary Newberry Academy is gearing up to face King Academy this Friday at 7:30 p.m. Despite a challenging season with a record of 0-7, Newberry...

Freddie McClendon to Perform in Columbia
Columbia, October 21, 2025 News Summary Freddie McClendon, a winner from ‘American Idol’, will make his debut in Columbia at a concert hosted by Greene Street Records. The event will include...

Newberry College Volleyball Team Faces Defeat Against Anderson University
Anderson, SC, October 18, 2025 News Summary The Newberry College volleyball team lost to Anderson University in a challenging match at the Abney Athletic Center, falling in three straight sets. Despite...

Aiken Celebrates Women in Business at Luncheon
Newberry SC, October 16, 2025 News Summary The Aiken Standard is set to host a luncheon celebrating women in business on October 23 at Newberry Hall. This year’s event features keynote...
CRIME

Motorcycle Pursuit Ends in Tragedy in North Augusta
North Augusta SC, October 21, 2025 News Summary A motorcycle chase in North Augusta, SC, resulted in the tragic death of 46-year-old Roosevelt Walker after he lost control of his motorcycle...
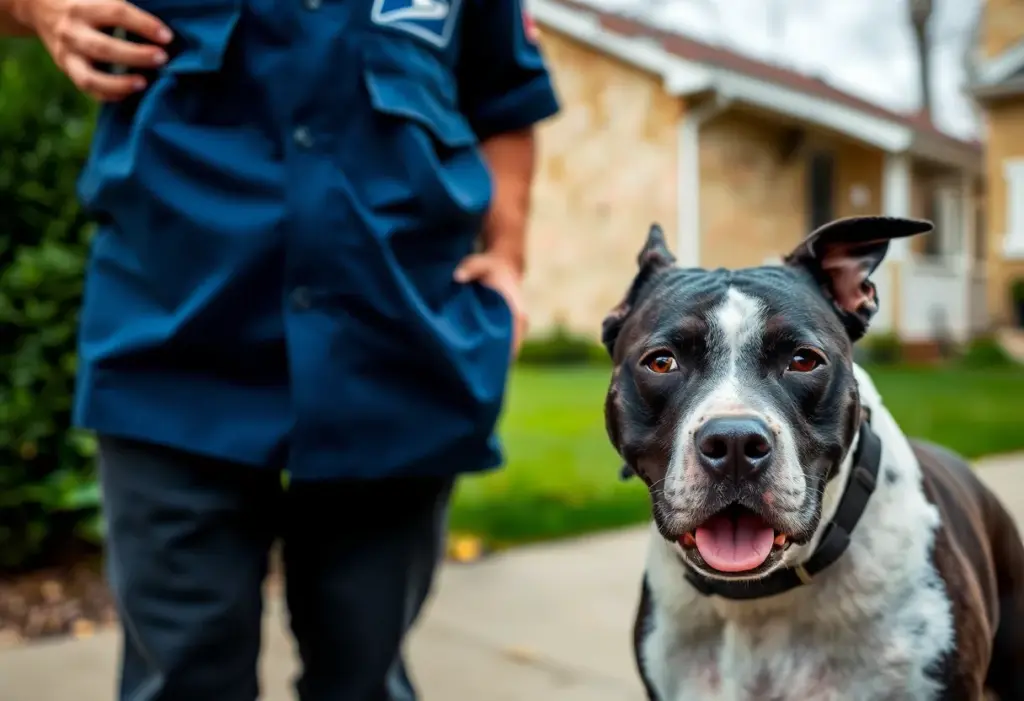
Postal Worker Injured in Dog Attack in Newberry, SC
Newberry SC, October 20, 2025 News Summary A U.S. Postal Service worker is recovering after being attacked by a pit bull in Newberry, SC. The incident occurred while the letter carrier...

Postal Worker Injured in Dog Attack During Mail Delivery
Newberry County, South Carolina, October 18, 2025 News Summary A U.S. Postal Service worker was seriously injured by a black and white pit bull while delivering mail in Newberry County. The...

Postal Worker Attacked by Pit Bull in Newberry County
Newberry County, South Carolina, October 18, 2025 News Summary A postal worker in Newberry County, South Carolina, was attacked by a pit bull while on her delivery route. The incident occurred...

Postal Worker Hospitalized After Dog Attack in Newberry County
Newberry County, SC, October 18, 2025 News Summary A postal worker in Newberry County, SC, was hospitalized after being attacked by a pit bull while delivering a package. The dog pursued...

Postal Worker Injured in Dog Attack in Newberry County
Newberry County, October 17, 2025 News Summary A U.S. Postal Service worker was seriously injured in Newberry County after being attacked by a dog during a package delivery. The incident occurred...

Postal Worker Injured in Dog Attack in Newberry County
Newberry County, SC, October 17, 2025 News Summary A postal worker in Newberry County, South Carolina, faced a serious dog attack while delivering mail. The incident involved a black and white...

Postal Worker Recovers from Dog Attack in Newberry County
Newberry County, October 17, 2025 News Summary A U.S. Postal Service employee is recovering after a serious dog attack during her mail delivery in Newberry County. The incident occurred on Pope...

Newberry County Postal Worker Airlifted Following Dog Attack
Newberry County, October 17, 2025 News Summary A postal worker in Newberry County was attacked by a black and white pit bull while delivering mail on Pope Street. The worker suffered...
POLITICS
Little Mountain, S.C. Faces Uncontested Council Elections
Little Mountain, S.C., October 23, 2025 News Summary Little Mountain, S.C., is preparing for an upcoming council election with two open seats but no candidates have filed to run. This unusual...

Fred Singleton, South Carolina’s Longest-Serving Death Row Inmate, Dies
Newberry SC, October 13, 2025 News Summary Fred Singleton, who was the longest-serving death row inmate in South Carolina, passed away at the age of 81 after 42 years in legal...

Beloved Matriarch Mary Jo Holsonback Passes Away
Joanna, SC, October 13, 2025 News Summary Mary Jo Holsonback, a cherished figure in Joanna, South Carolina, passed away at the age of 88. Known for her devotion to family, faith,...

Fred Singleton, Longest-Serving Death Row Inmate in SC, Dies
Newberry SC, October 11, 2025 News Summary Fred Singleton, who spent 42 years on South Carolina’s death row, has died at the age of 81 from natural causes. Convicted in 1983...

Beloved Family Matriarch Pamela Kaye Rogers Passes Away
Newberry, South Carolina, October 9, 2025 News Summary Pamela Kaye Rogers, a cherished matriarch from Newberry, South Carolina, passed away peacefully at the age of 77. Known for her love and...

Philadelphia Police Union Files Lawsuit Against City Law
Philadelphia, September 30, 2025 News Summary The Philadelphia Lodge of the Fraternal Order of Police has initiated a lawsuit seeking to invalidate a city law that limits officers’ ability to conduct...

David Stumbo Launches Bid for GOP Attorney General Nomination
Columbia, South Carolina, September 26, 2025 News Summary David Stumbo, the Eighth Circuit Solicitor, has officially announced his candidacy for the GOP nomination for South Carolina’s attorney general. With a strong...
Clemson University Fires Faculty Over Social Media Posts
Clemson, South Carolina, September 19, 2025 News Summary Clemson University has terminated two faculty members after an investigation into their inappropriate social media comments about the assassination of Charlie Kirk. This...

David Stumbo Launches Campaign for South Carolina Attorney General
Laurens County Museum, September 19, 2025 News Summary David Stumbo, the Eighth Circuit Solicitor, formally announced his candidacy for South Carolina Attorney General at the Laurens County Museum. Stumbo, emphasizing a...
SPORTS
Keenan Raiders Fall to Newberry Bulldogs 37-6
Columbia, SC, October 27, 2025 News Summary The Keenan Raiders suffered a disappointing 37-6 loss against the Newberry Bulldogs, marking their fourth consecutive home defeat. With this loss, the Raiders’ season...
Newberry Bulldogs Secure 37-6 Victory Over Keenan Raiders
Newberry SC, October 27, 2025 News Summary The Newberry Bulldogs achieved their ninth straight win with a commanding 37-6 victory against the Keenan Raiders. Dominating every quarter, the Bulldogs showcased their...
SAC Players Shine in Week 7 Performances
Charlotte, October 25, 2025 News Summary Elijah Holmes of Wingate has been named Offensive Player of the Week in the South Atlantic Conference (SAC), showcasing his talent with impressive passing and...
Newberry Academy Prepares for Challenge Against King Academy
Newberry SC, October 22, 2025 News Summary Newberry Academy is gearing up to face King Academy this Friday at 7:30 p.m. Despite a challenging season with a record of 0-7, Newberry...
Newberry College Volleyball Team Faces Defeat Against Anderson University
Anderson, SC, October 18, 2025 News Summary The Newberry College volleyball team lost to Anderson University in a challenging match at the Abney Athletic Center, falling in three straight sets. Despite...

Mid-Carolina Lady Rebels Claim Victory Over Newberry
Newberry SC, October 16, 2025 News Summary In a thrilling rivalry match, the Mid-Carolina Lady Rebels secured a decisive 3-0 win against the Newberry Lady Bulldogs. The victory finalized Mid-Carolina’s regular...
Voting Open for High School Football Player of the Week
Columbia, South Carolina, October 14, 2025 News Summary The seventh week of high school football in South Carolina has wrapped up, and fans can now vote for The State’s Player of...

Newberry High School Bulldogs Remain Undefeated
Newberry SC, October 12, 2025 News Summary The Newberry High School Bulldogs have improved their football record to 6-0 after a solid victory over Saluda. This win has secured them a...

Upcoming Matchups in South Carolina High School Football
Columbia, South Carolina, October 10, 2025 News Summary The Midlands region is set for a thrilling week of South Carolina public high school football, featuring key games like Dutch Fork vs....